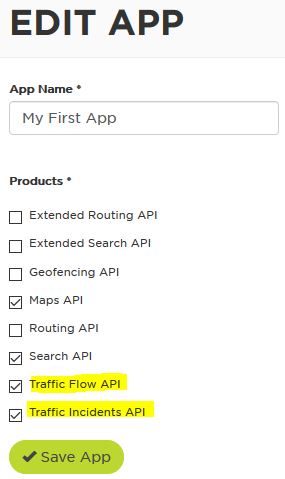
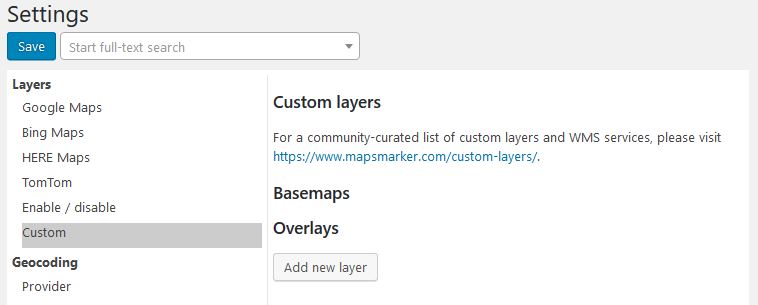
Since v4.6 TomTom basemaps can easily be activated within Maps Marker Pro. If you want to add TomTom traffic incidents and traffic flow layers as overlay, please proceed as follows:
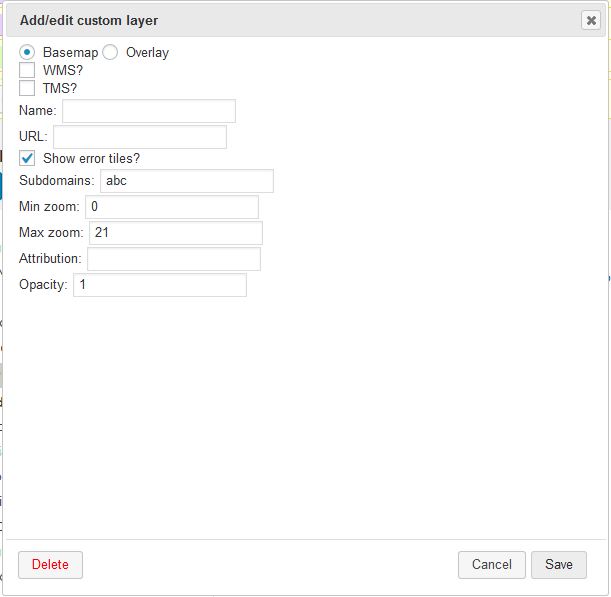
https://api.tomtom.com/traffic/map/4/tile/flow/absolute/{z}/{x}/{y}.png?key=add_your_tomtom_api_key_hereFor TomTom traffic incidents overlay please use the following values:
Type: Overlay
Name: TomTom traffic incidents
URL: https://api.tomtom.com/traffic/map/4/tile/incidents/s3/{z}/{x}/{y}.png?key=add_your_tomtom_api_key_here
Attribution: @ 1992-2019 TomTom
Finish by clicking on Save.
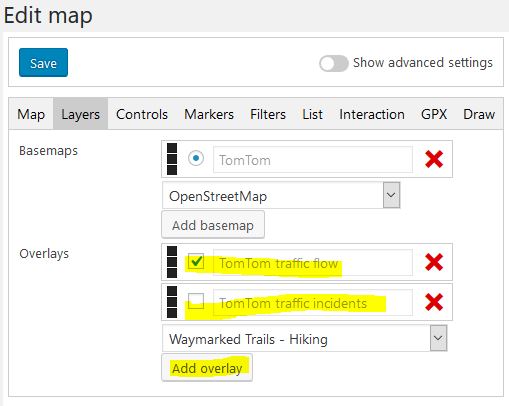
Please be aware that the layers can be customised, e.g. by setting a different style. For more Information on how to Change the URL accordingly, please have a look at the traffic flow details or traffic incident details.
Subscribe to our newsletter to not miss any news - you can unsubscribe at any time: