![]()
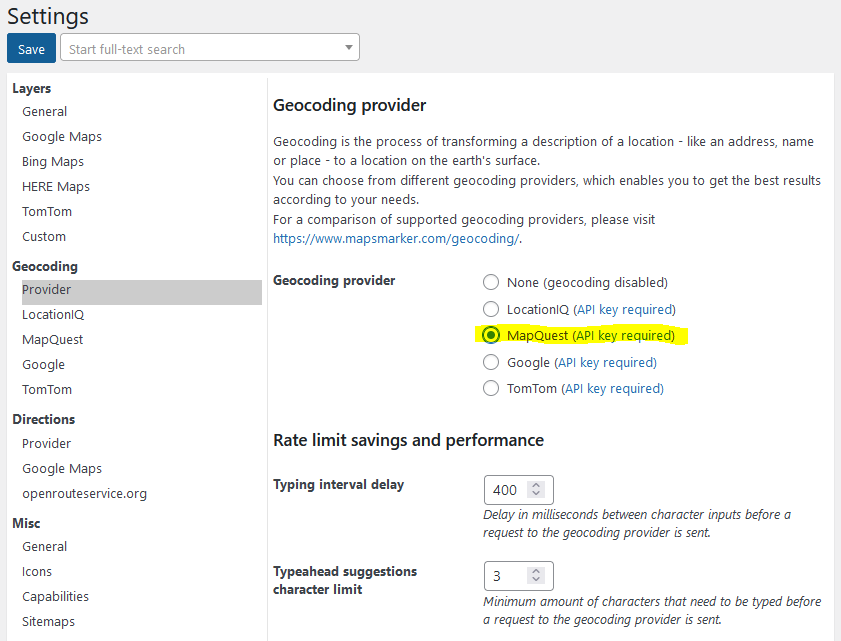
MapQuest.com offers a Geocoding API which can be used within Leaflet Maps Marker respectively Maps Marker Pro.
Please note that if you already signed up for a MapQuest API key for basemaps, you can also this key for MapQuest geocoding!

That´s it. Afterwards you can start using MapQuest geocoding when creating a new map or marker.
If you experience any issue with your MapQuest key, please check the MapQuest support forums at https://developer.mapquest.com/forum for assistance.
If you want to use MapQuest geocoding, you need to register a free API key. The related Terms of Services can be found at https://developer.mapquest.com/legal
Please note that MapQuest basemaps should also be used if MapQuest geocoding is selected! (Click here for a tutorial on how to activate MapQuest basemaps – FYI: you can use the same API key as for MapQuest geocoding).
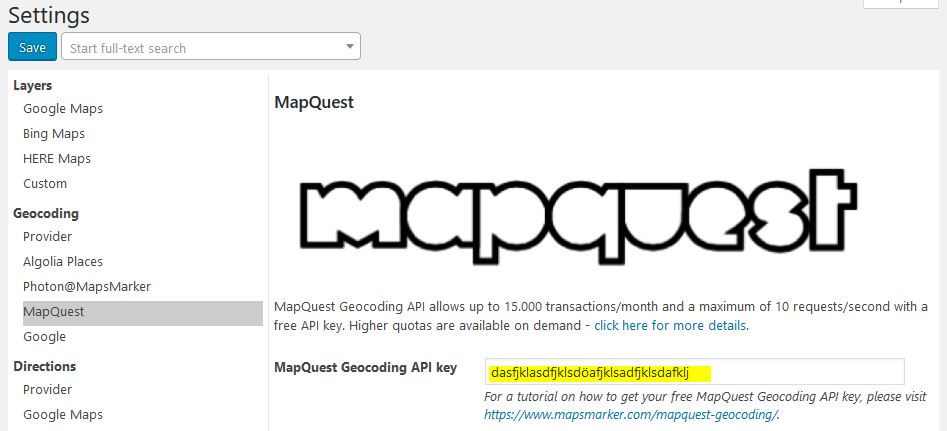
MapQuest Geocoding API allows up to 15.000 transactions/month and a maximum of 10 requests/second with a free API key. Higher quotas are available on demand – click here for more details.
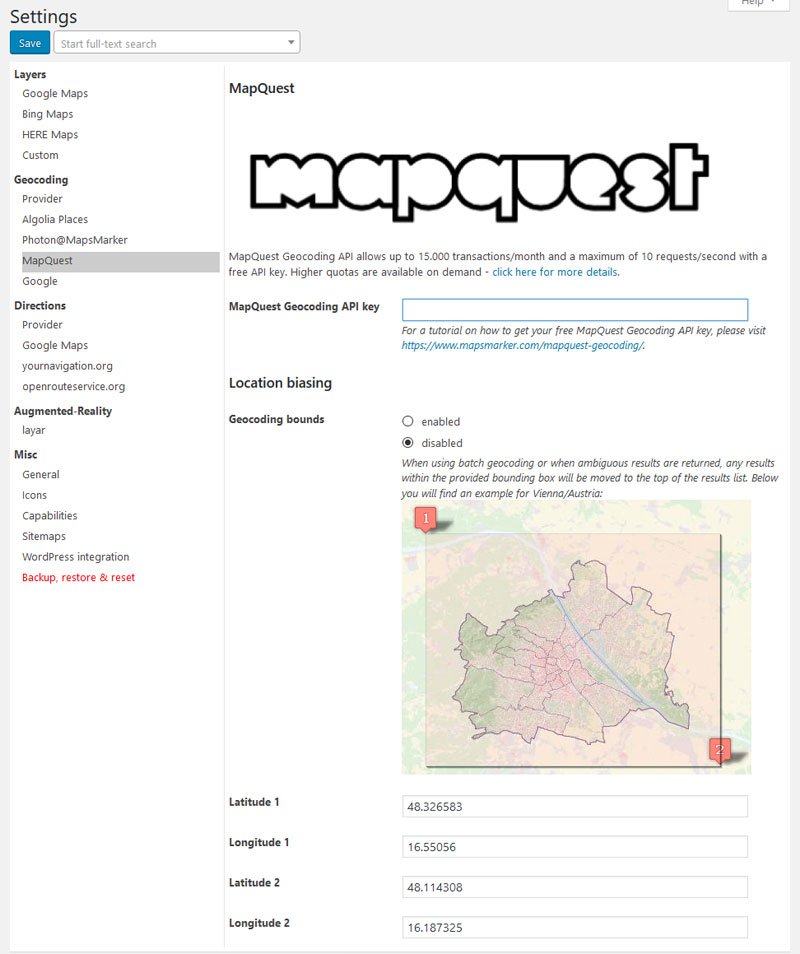
When using batch geocoding or when ambiguous results are returned, any results within the provided bounding box will be moved to the top of the results list.