Congratulations! You succeeded in installing Maps Marker Pro and now want to create a basic map? Here is how to achieve this:
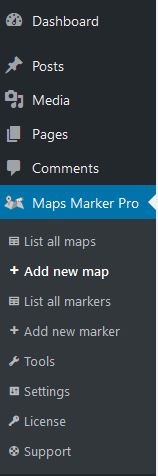
First you need to create a map, before adding a marker to it. To do so, please select “Add new map” from the menu first:
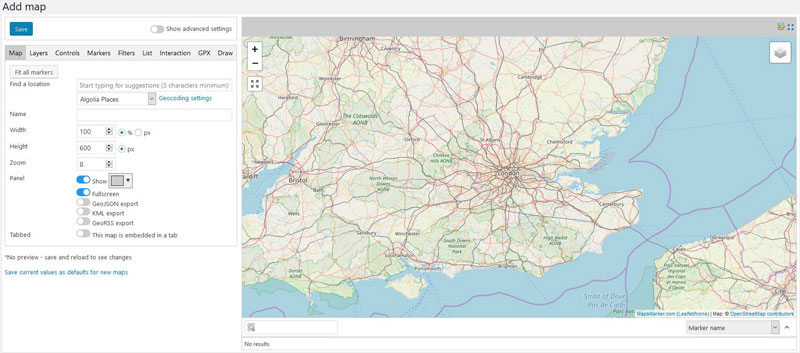
As a result you will see a new map preview using the default settings:
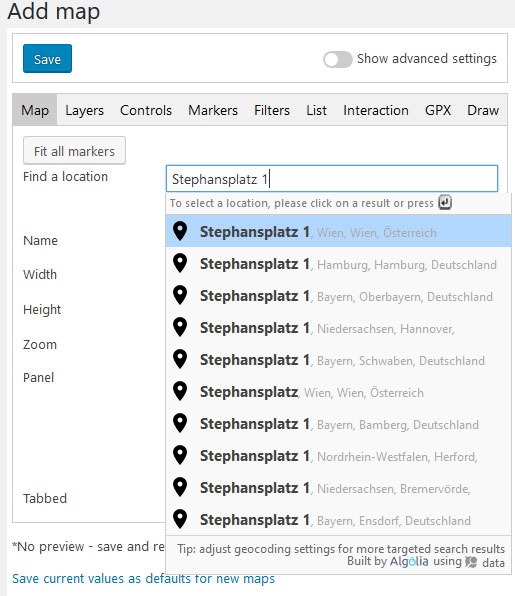
If you want to use the geolocation feature, you have to activate a geocoding provider first. For a comparison of available geocoding providers and activation tutorials please click here.
Start the geolocation search by entering the address into the field “Find a location” to center the map on the desired location (you can also use manaully zoom and pan the map by using your mouse directly on the map as an alternative, if geocoding is disabled for example):
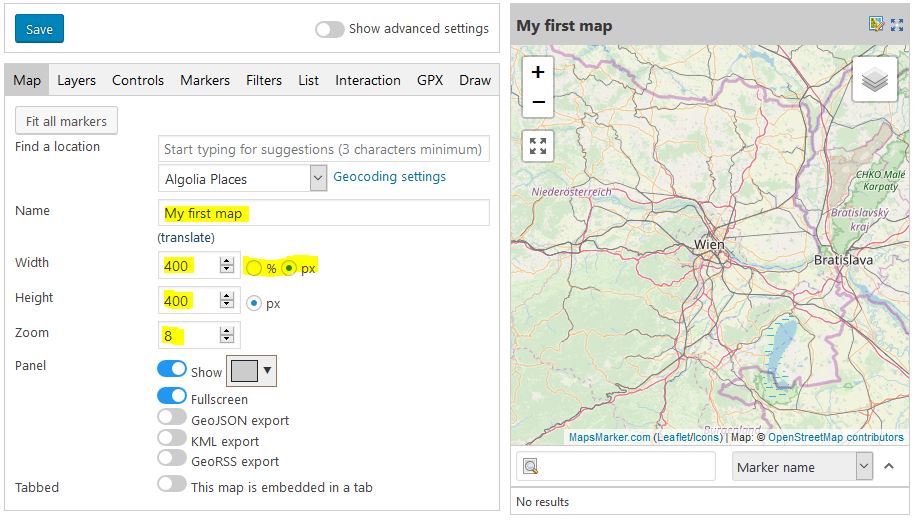
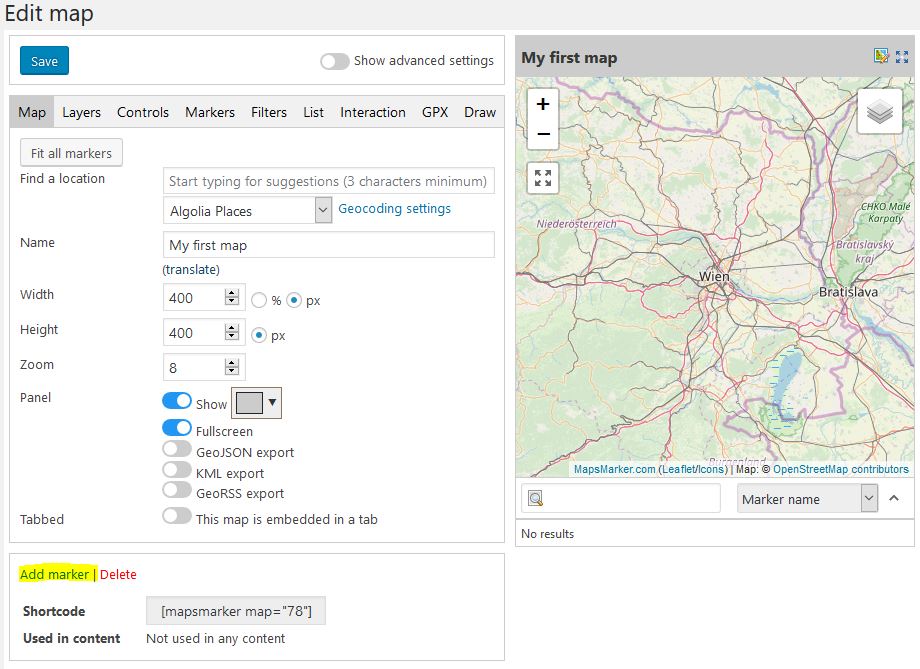
The map then gets centered on that location and optionally you can also adjust basic parameters of the map like width, height or zoom level and give the map a name:
For advanced customisation, e.g. which Layer to use (like Google Maps, for which a mandatory API registration is necessary), please switch through the available tabs Layers, Controls, Markers etc. You can also tick the radio button “Show advanced settings” for advanced customisation options – for this tutorial though we will continue with basic map settings.
So as next step, finish creating this map by clicking on the Save button. The map now gets reloaded and you can easily add a marker to this map by clicking the link “Add marker”:
This will load the page “Add new marker” where the new marker is already assigned to be displayed on the newly created map with ID78. You can then either use the geolocation search again for setting the exact location of the marker or use drag and drop with your mouse. It is also advised to set a name for this marker and if you want you can customise the icon. Adding an infotext to the popup is also possible by using the editor:
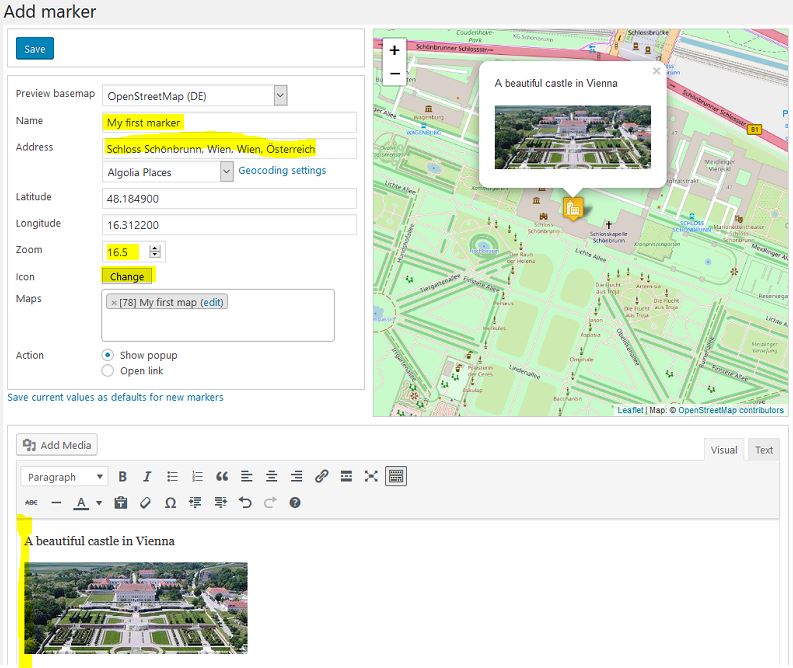
Finish this step again by clicking on the “Save” button to actually create the marker.
If you switch back to the map created before and reload the page, you will see that the marker has now been added to your map:
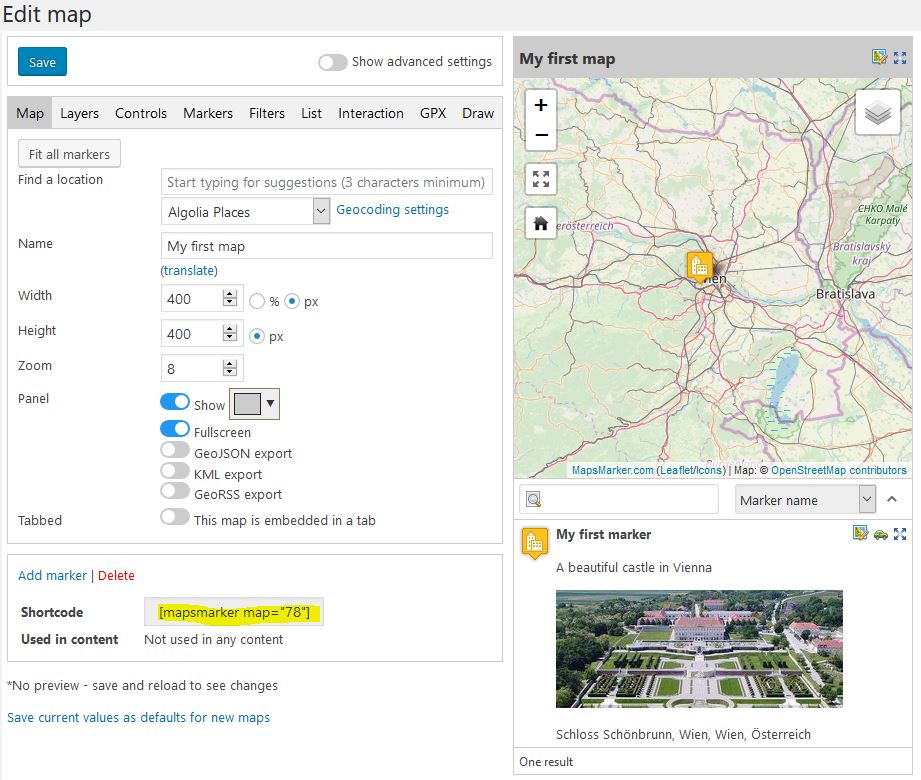
You can now further customise this map (e.g. hiding the list of markers below the map on the tab “List”) or continue to add this map to your site. The easiest way to do so is to copy the highlighted shortcode and paste it into a post, page or widget:
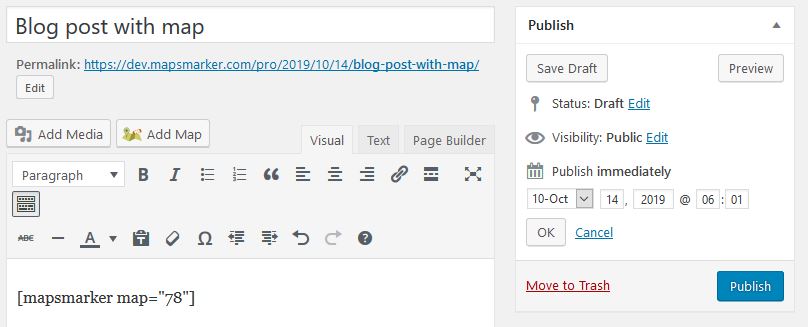
If you are using the WordPress Gutenberg editor, you can also paste the shortcode as new block or use the dedicated maps block:
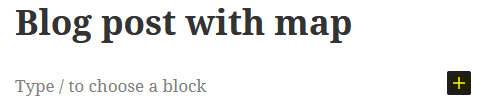
Gutenberg step 1 (click on the plus icon to show available blocks):
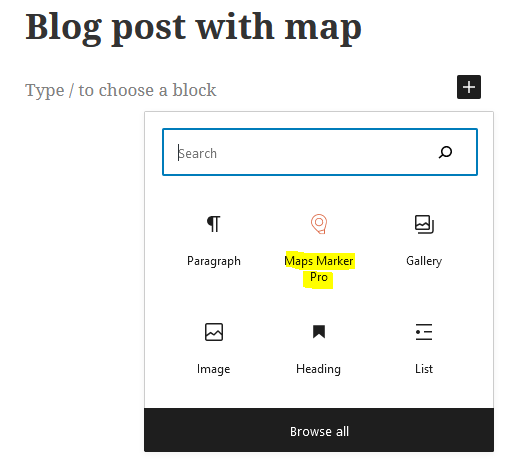
Gutenberg step 2 (select Maps Marker Pro block):
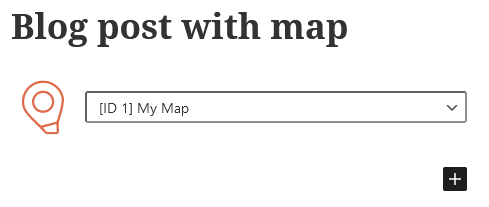
Gutenberg step 3 (select your map from the dropdown):
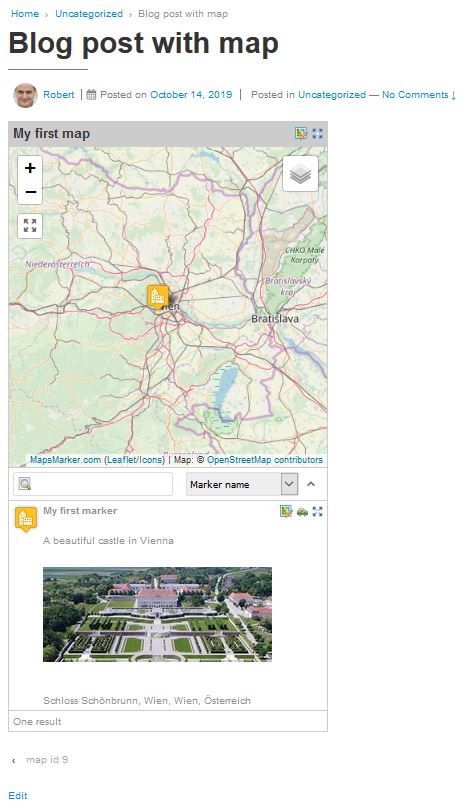
Either way finish by publishing your post or page or saving your widget. As a result, the map will now also be displayed on frontend:
That´s it. You´ve now successfully created your first map and added a marker. Optionally you can now further customise your map or add further markers to your map by repeating the steps above, starting from “Add new marker”. There are often several ways in achieving the desired result, this tutorial described the most basic ones.
For further tutorial on how to customise your maps, please have a look at the other content in our knowledge base – if a specific tutorial is missing or if anything is unclear for you, please open a support ticket and we will be glad to help!