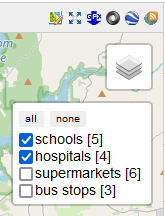
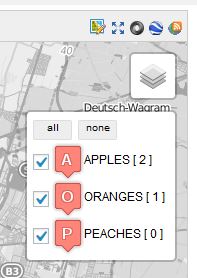
Filters are a way to organize your markers and allow your user to toggle the visibility of the markers, example from demo.mapsmarker.com:
Here an example which shows you how to add filters to a map. Let´s say you want to create a FRUITS map which shows APPLES, ORANGES and PEACHES. So at first you need to create the following 3 maps:
Example screen:
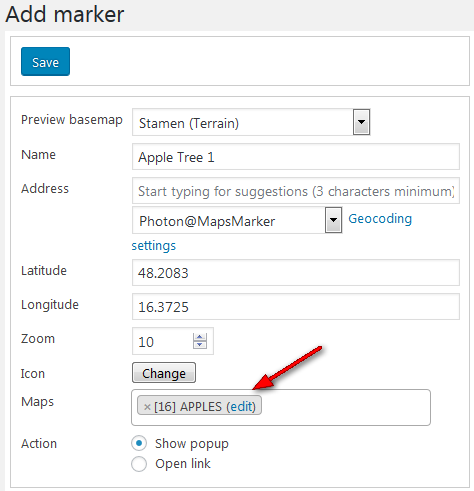
As next step, add markers to those 3 maps – it is important to assign the markers to their related maps, example:
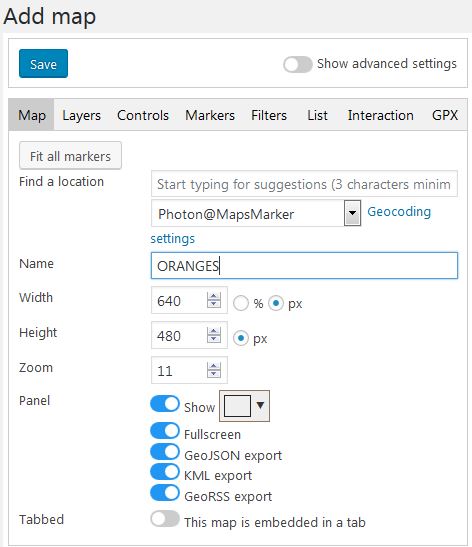
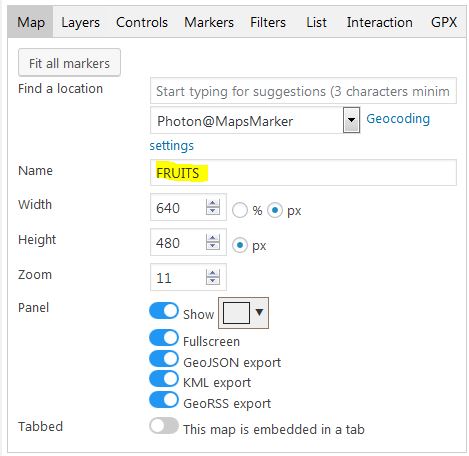
If you finished adding your markers to those 3 maps, create a new map FRUITS as next step:
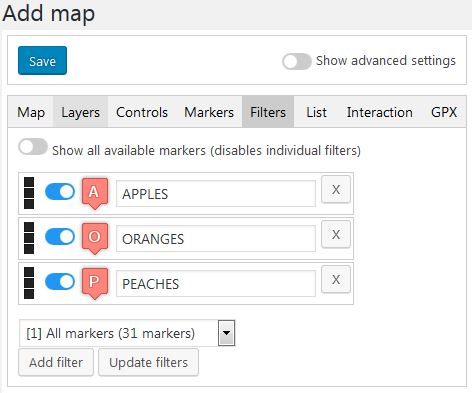
As next step, switch to the “Filters” tab, select the 3 maps from the dropdown and add the to the map by clicking “Add filter”:
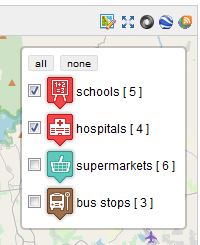
You can also change the default visibility of the related markers by changing the radio button, select a different icon or change the name for the filter in the controlbox. If you are finished, preview your changes by clicking “Update filters”:
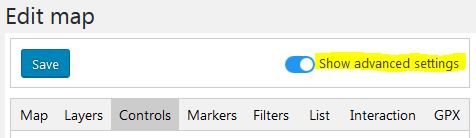
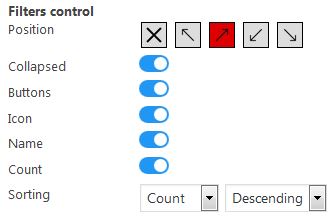
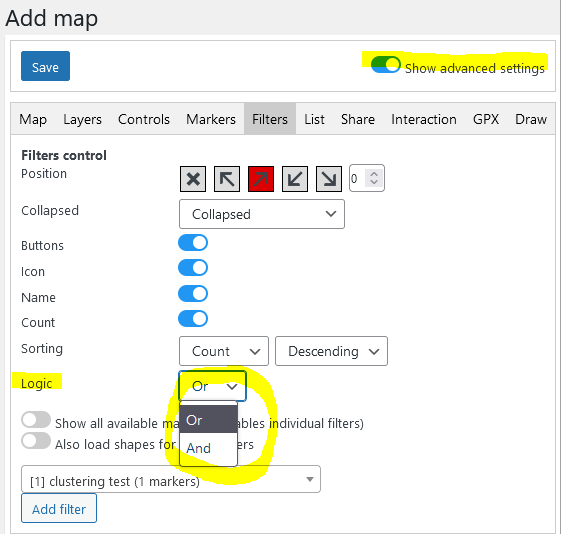
To customize the appearance of the filter controlbox, please first enable advanced settings:
Then switch to the “Controls” tab where you will find the related filter control settings:
New since v4.22 (19.8.2022):
With v4.22 we added an new option, which can be accessed by toogle “Show advanced settings” which allows you to switch the logic for displaying markers from different filters from OR (=default) to AND:
If this setting is set to AND, only markers are visible, which are in all check filter entries – in the following example, only markers are shown which are assigned to the map schools AND hospitals: