Maps Marker Pro allows you to easily perform bulk updates on markers by using the integrated import/export feature. Below you will find the documentation for these features. If anything is unclear, please open a support ticket at https://mapsmarker.com/helpdesk and we will be glad to help!
Attention: this tutorial is only valid up for Maps Marker Pro version 4.0 to 4.8 – the tutorial for the version 4.9 or higher can be found at https://www.mapsmarker.com/import-export
Supported formats
By default, the import and export feature only supports GeoJSON for export and import. You can convert your GeoJSON file to CSV or XLSX though and vice versa for better handling.
How to convert GeoJSON to CSV or XLSX
- Go to http://www.convertcsv.com/geojson-to-csv.htm
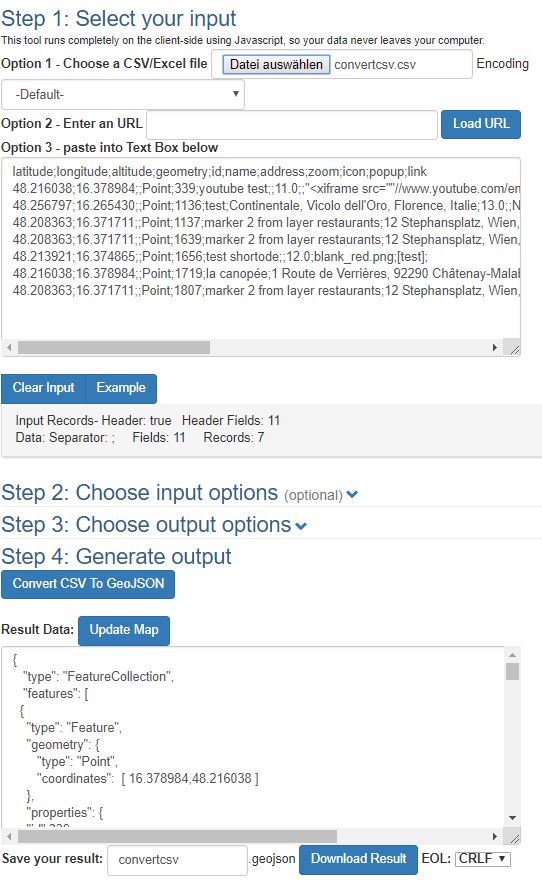
- Select your GeoJSON input file:
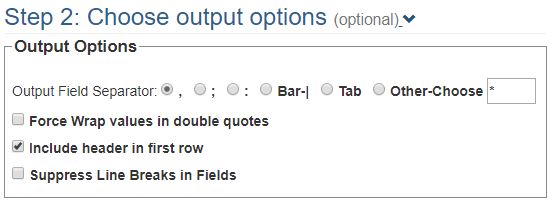
- Choose the output options:
- Generate the output file:
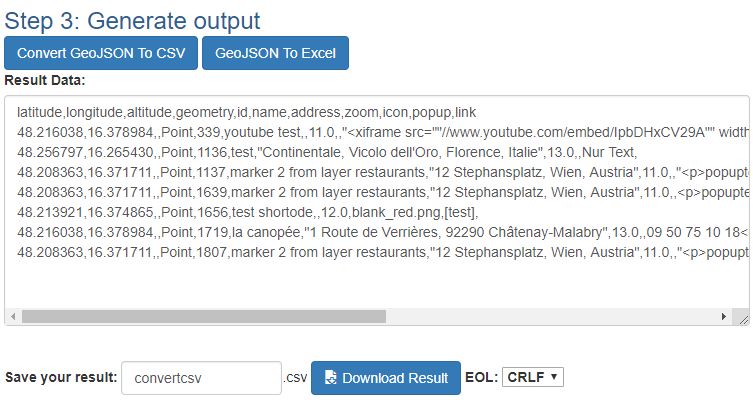
You can either save your output file as CSV or XLSX file by using the related buttons.
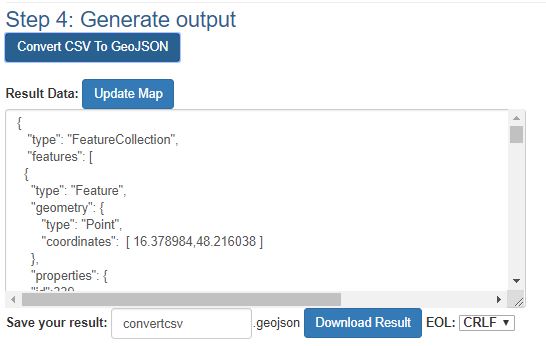
How to convert CSV to GeoJSON
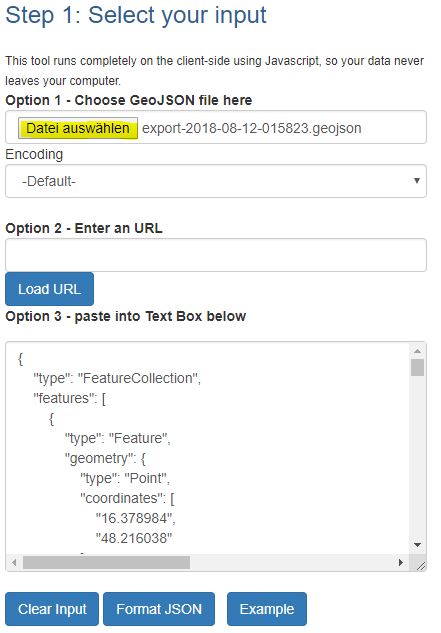
- Go to http://www.convertcsv.com/csv-to-geojson.htm
- Select your CSV input file:
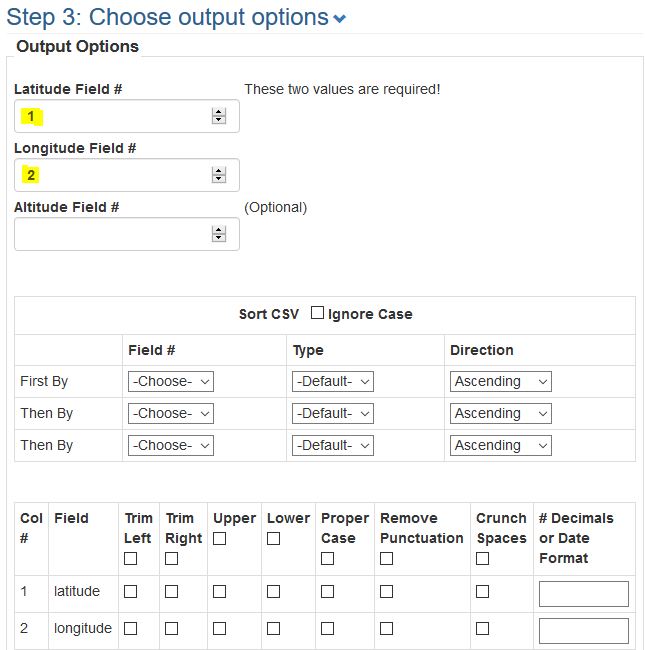
- If your CSV file does not have latitude and longitude values yet, you also need to open the output options and set which field contains the value latitude and which field contains the value longitude:
- Save your result as .geojson file in order to be able to use it later for the importer.
How to convert XLSX to GeoJSON
A XLSX template with demo data can be downloaded here: https://www.mapsmarker.com/wp-content/uploads/2019/07/import-template-for-geojson-conversion.xlsx.
The process is similar to converting a CSV file to GeoJSON – depending on your input file it can be though, that the migration tool requires additional options:
- Go to http://www.convertcsv.com/csv-to-geojson.htm
- Select your XLSX input file:
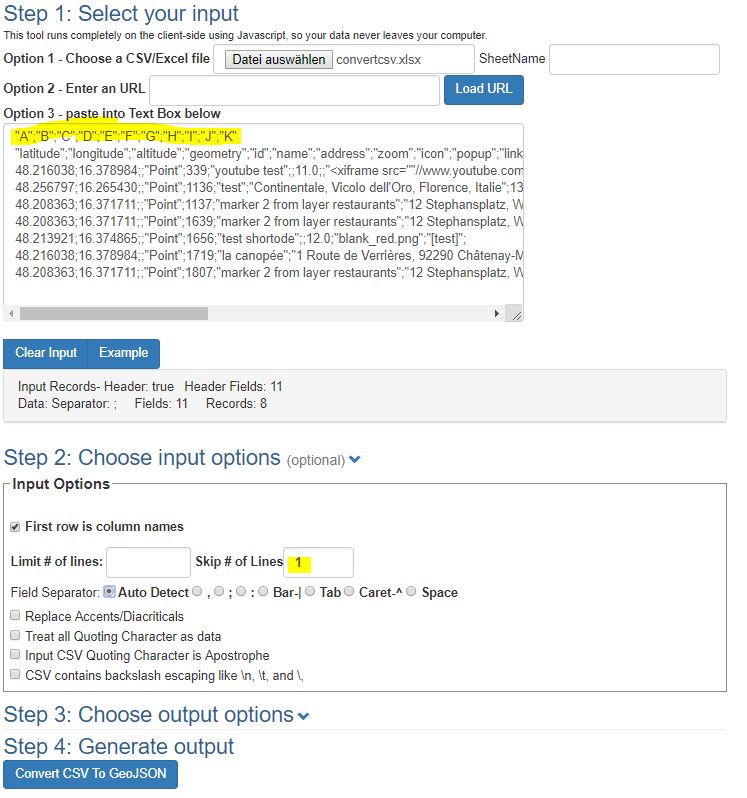
Due to a current bug in the migration tool, it can be that you see the columns A to K although the input option “First row is column names” is checked. To workaround this issue, please set “Skip # of Lines” to 1
- Generate the output by clicking the button “Convert CSV to GeoJSON”:
- Save your result as .geojson file in order to be able to use it later for the importer.
back to index
How to convert KML to GeoJSON
In order to convert a KML file to GeoJSON, please use the service at https://observablehq.com/@tmcw/convert-kml-to-geojson
- first select your KML as input file:

- The conversion starts automatically and you only need to download the output file:
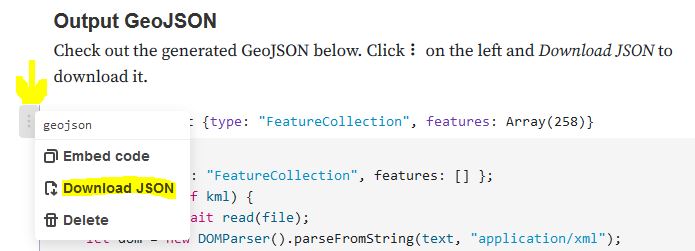
- Finish by importing this file in Maps Marker Pro.
back to index
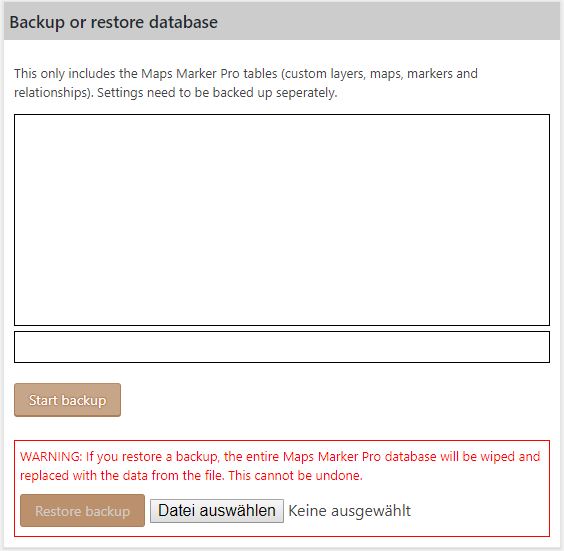
Copying maps from another site
If you want to transfer your maps from one site to another, it is recommended to use the “Backup/Restore database”-feature from the tools page:
back to index
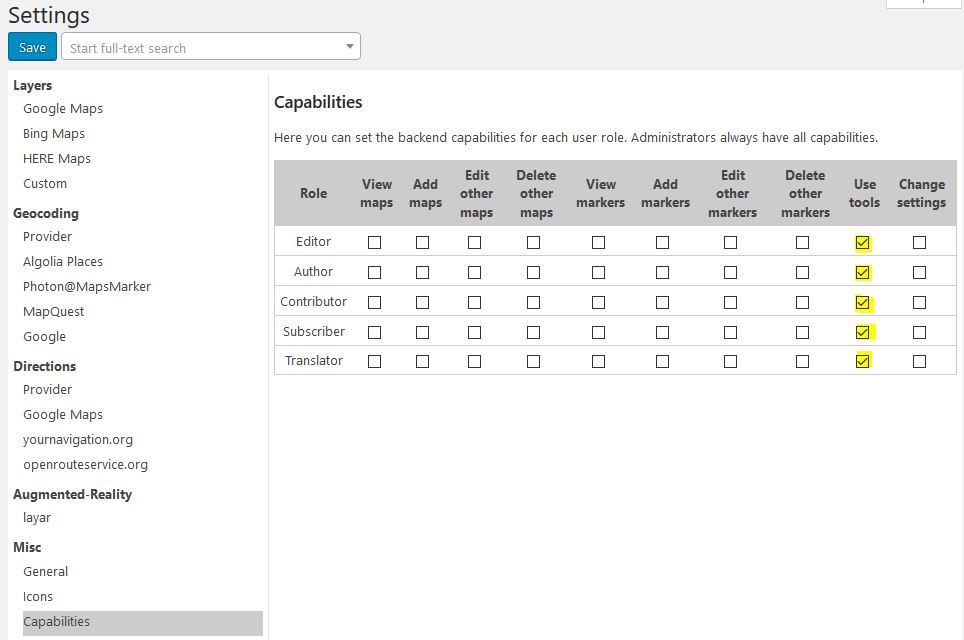
Permissions / Capabilities
By default, only administrators can use the import and export feature on the tools page. If you want other users to also use these features, please navigate to Settings / Capabilities and enable the capability “Use tools” for the required role:
back to index
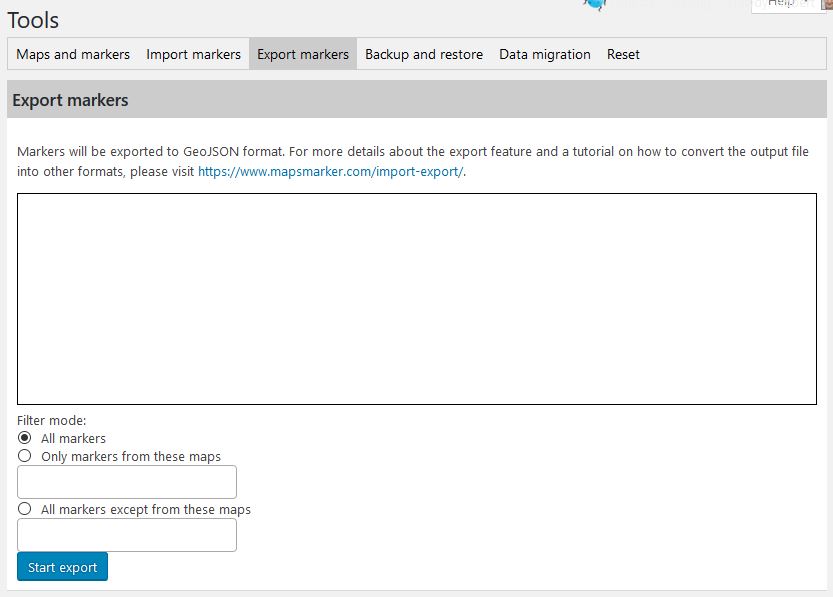
Export markers
Existing markers can be exported to GeoJSON format, which then can be converted to CSV or XLSX (see tutorials above).
In order to export your markers, please navigate to “Import & Export” and select the Export-tab first:
You can either choose to export all markers (default) or use the “Filter mode” to export markers from selected maps only or exclude markers from selected maps.
Finish the export by clicking the “Start export” button.
back to index
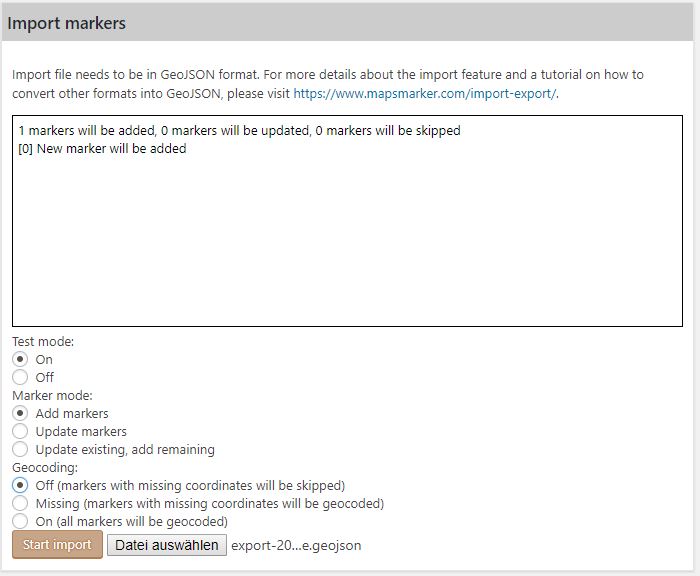
Import markers
You can use the import feature to bulk add or update markers.
In order to import your markers, please navigate to “Import & Export” and select the Import-tab:
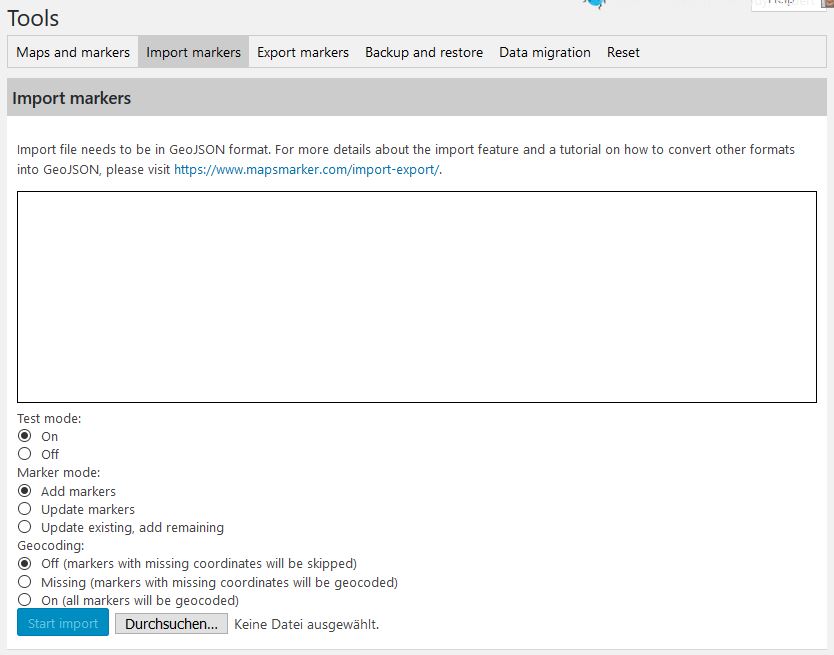
Choose your import file and start the import by clicking the button “start import”. The available options will be explained below.
back to index
Marker mode options
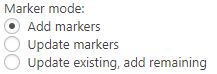
- “Add markers”:
Every entry in your GeoJSON file will be used to create a new marker.
- “Update Markers”:
If the ID of an entry in your GeoJSON file exists, the existing marker will be updated, if the ID does not exist, the marker will be skipped.
- “Update existing, add remaining”:
If the ID of an entry in your GeoJSON file exists, the existing marker will be updated, if the ID does not exist, a new marker will be created.
back to index
Geocoding options
- “Off”:
If the values for coordinates (latitude or longitude values) are missing, geocoding for this marker will be skipped
- “Missing”:
If the values for coordinates (latitude or longitude values) are missing, the address will be used for geocoding
- “On”:
The address given in the GeoJSON file will be used for geocoding, regardless of latitude or longitude values available (existing latitute and longitude values will be overwritten by the geocoding results).
Test mode
When running an import, by default the option “Test mode” is turned on:

It is recommended to first make a “dry run” with test mode on before turning it off. With test mode on, the import file will be checked for warnings and errors. You will be told exactly which values are not valid and be able to correct those before saving the changes to the database:
If no errors or warnings are found, set “Test mode” to “Off” and start the import again.
Error handling
We integrated several checks which should prevent the import to fail. Anyway if something goes wrong, you will be shown exactly what went wrong, e.g.
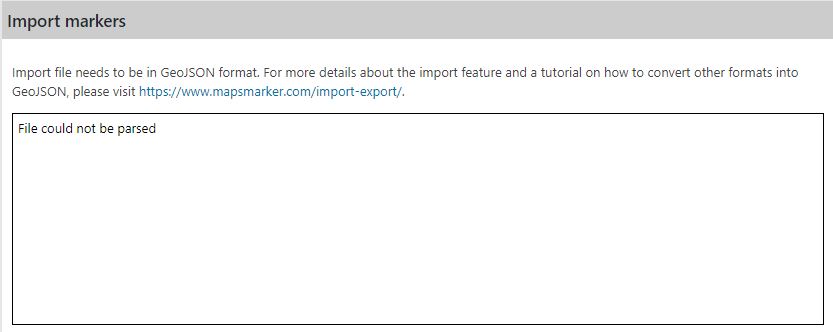
Available error messages
- Security check failed:
- File missing
- File could not be read
- File could not be parsed
- Invalid GeoJSON
- No geographical data found
- Missing geometry type
- Missing or incomplete coordinates
- Missing address for geocoding
If you cannot resolve the issue by yourself, please open a support ticket at https://mapsmarker.com/helpdesk and we will be glad to help!
back to index
Subscribe to our newsletter to not miss any news - you can unsubscribe at any time:
Updated on 31 May 2022